How to Remove Mountain Bike Pedals: Easy Step-by-Step Guide
Key Takeaways
- Removing mountain bike pedals requires knowing the correct pedal types, tools, and threading directions to avoid damage and frustration.
- Use a 15mm pedal wrench or the appropriate hex key (6mm or 8mm) to ensure secure grip and proper leverage during removal.
- Right pedals loosen counterclockwise, while left pedals loosen clockwise due to reverse threading—incorrect direction risks stripping threads.
- Treat stubborn or rusty pedals with penetrating oil, gentle tapping, and gradual leverage for safe removal without damaging components.
- Avoid using adjustable wrenches or pliers, forceful jerks, or unstable bike positioning to prevent injury and component damage.
- After removal, clean and grease crank threads, inspect pedal bearings and threads, and store pedals properly for smooth maintenance and longevity.
Removing mountain bike pedals might seem tricky at first but with the right approach you can do it quickly and safely. Whether you’re upgrading, repairing, or cleaning your bike pedals knowing the proper technique saves you time and frustration.
You’ll need just a few basic tools and a bit of know-how to get the job done without damaging your bike. Once you understand the pedal threading and which way to turn you’ll feel confident tackling this essential maintenance task.
In this guide you’ll learn clear step-by-step instructions to remove your mountain bike pedals like a pro. Get ready to keep your ride in top shape and enjoy smoother pedaling on every trail.
Understanding Mountain Bike Pedals
Knowing the types of mountain bike pedals and the tools needed for removal makes the process easier and prevents damage.
Types of Mountain Bike Pedals
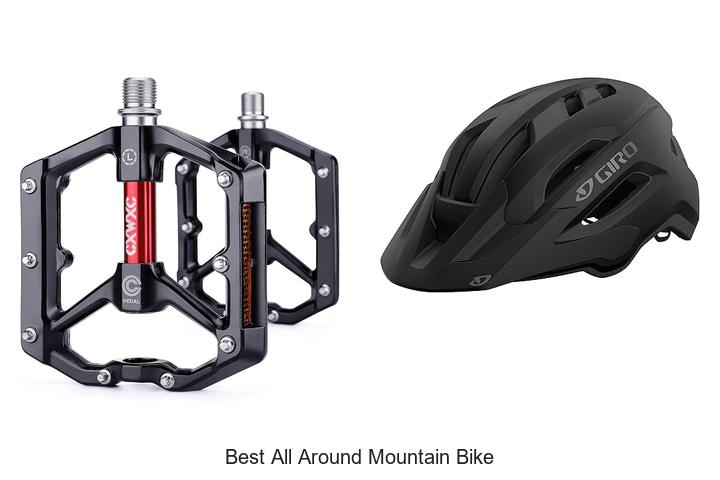
Recognize the two main types of mountain bike pedals: platform pedals and clipless pedals. Platform pedals have a wide, flat surface suitable for casual riding and technical terrain. Clipless pedals feature a cleat mechanism that locks into specific cycling shoes for efficient power transfer. Each type uses different attachment designs, but both attach to the crank arms with a threaded spindle. Understanding these differences helps you choose the right removal method.
Tools Needed for Removal
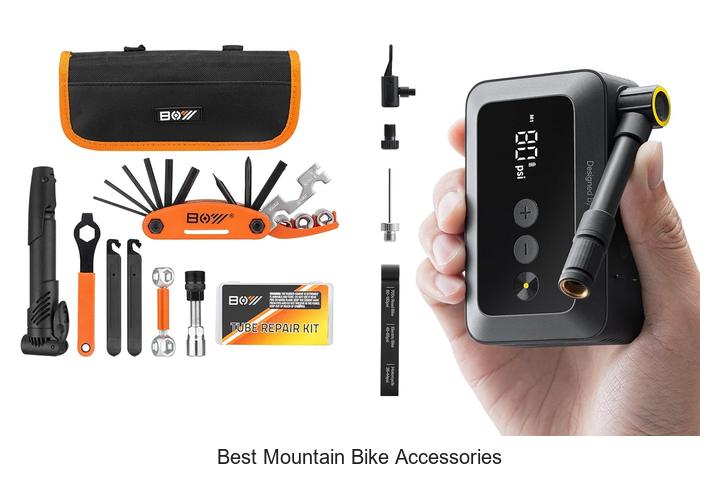
Use the correct tools to remove mountain bike pedals without complications. A 15mm pedal wrench fits most pedals and provides the necessary leverage. Some pedals require a hex key, commonly a 6mm or 8mm Allen wrench, inserted into the spindle end inside the crank arm. Having both a pedal wrench and hex keys on hand covers most pedal designs. Avoid using adjustable wrenches, as they can slip and damage the pedal or crank threads.
Step-by-Step Guide on How to Remove Mountain Bike Pedals
Removing mountain bike pedals requires proper preparation, understanding pedal orientation, and using the correct tools. Follow these clear steps to remove pedals efficiently without causing damage.
Preparing Your Bike and Workspace
Place your bike on a stable surface, such as a work stand or flat ground, to keep it steady. Position the bike so you can access both pedals easily. Gather necessary tools: a 15mm pedal wrench or appropriate hex key (6mm or 8mm). Clean any dirt or debris around the pedal-crank interface to ensure better grip and prevent tool slipping.
Identifying the Correct Pedal Orientation
Locate the drive side pedal on the right crank and the non-drive side pedal on the left crank. Remember, the right pedal loosens counterclockwise, while the left pedal loosens clockwise due to reverse threading. Confirm the pedal side before proceeding; incorrect direction can tighten pedals further and risk damage.
Using a Pedal Wrench or Allen Key
Fit the 15mm pedal wrench on the flat section of the pedal spindle or insert the hex key into the pedal axle from the back if your pedals use that design. Apply firm, steady pressure in the correct loosening direction—counterclockwise for the right pedal, clockwise for the left pedal. If using a hex key, brace the crank arm securely to avoid twisting. Remove the pedal by continuing to turn until it detaches completely.
Tips for Stubborn or Rusty Pedals
Spray penetrating oil on the pedal threads and let it soak for 10–15 minutes if pedals resist loosening. Use a longer wrench or add an extension for increased leverage without applying excessive force. Avoid using pliers or adjustable wrenches to prevent damaging the threads. Tap the wrench gently with a rubber mallet if needed to break rust bonds, then retry loosening gently.
Common Mistakes to Avoid When Removing Pedals
Avoid forcing the wrench in the wrong direction, as this damages pedal threads and crank arms. Remember that the right pedal loosens counterclockwise and the left pedal loosens clockwise. Neglecting this leads to stripped threads.
Use the correct tool consistently; a 15mm pedal wrench or the proper hex key fits securely. Avoid adjustable wrenches since slipping causes damage to both pedals and crankshaft.
Skip removing pedals without cleaning the connection first. Dirt and grime reduce wrench grip, increasing the risk of tool slippage and injury. Apply penetrating oil on tight pedals and let it sit for several minutes before proceeding.
Hold the bike securely to prevent movement during removal. Unstable positioning causes sudden wrench slips, straining your hands and possibly injuring you or damaging components.
Apply steady pressure instead of jerking or rapid movements. Sudden force risks stripping threads or damaging crank arms. If pedals resist, increase leverage gradually rather than using brute force.
Avoid ignoring pedal threading direction when reinstalling pedals. Installing them incorrectly results in quick loosening during rides, causing unsafe conditions.
By steering clear of these mistakes, you protect your bike’s components and complete pedal removal smoothly and safely.
Maintenance Tips After Removing Pedals
Inspect the pedal threads for any damage or wear. Replace pedals if you find stripped or bent threads to ensure proper reinstallation and safety. Clean the crank arm threads thoroughly using a brush or cloth to remove dirt, grease, and old threadlocker residue. Apply a thin layer of grease or anti-seize compound to the crank threads before reinstalling pedals. This prevents corrosion and eases future removal.
Check the pedal bearings for smooth rotation. Service or replace bearings when you notice roughness or play to maintain pedal performance. Tighten the pedals using the correct torque specifications, typically between 25 and 35 Nm, to avoid over-tightening or under-tightening. Use a torque wrench when possible for precise control.
Store removed pedals in a dry place away from moisture to prevent rusting. Inspect your pedals regularly after riding, especially in wet or muddy conditions, and clean them promptly. Following these maintenance steps after pedal removal enhances your bike’s longevity and riding efficiency.
Conclusion
Removing your mountain bike pedals doesn’t have to be a daunting task. With the right approach and tools, you can handle this maintenance step smoothly and confidently. Paying attention to pedal threading and using proper techniques will protect your bike’s components and ensure a hassle-free experience.
Taking care during removal sets you up for easier reinstallation and better pedal performance. Whether you’re upgrading, cleaning, or repairing, mastering this skill keeps your bike ready for the trail. Keep practicing, and you’ll find pedal removal becomes second nature in your bike maintenance routine.
