How to Size a Mountain Bike for the Perfect Fit and Comfort
Key Takeaways
- Proper mountain bike sizing is essential for comfort, control, and safety on the trails, preventing fatigue and injury.
- Sizing depends on multiple factors including frame size, reach, stack, top tube length, and standover height—not just rider height.
- Accurate body measurements (height, inseam, reach) are crucial to match bike geometry for a personalized fit.
- Size charts are helpful starting points but vary by brand; always consider specific geometry metrics for the best fit.
- Test rides and fit adjustments, especially saddle height and handlebar position, optimize riding efficiency and comfort.
- Avoid common mistakes like choosing the wrong frame size or ignoring your riding style and terrain preferences.
Choosing the right mountain bike size is key to unlocking your best ride. If your bike is too big or too small you’ll struggle with control and comfort. Getting the fit right makes every trail smoother and safer.
Sizing a mountain bike isn’t just about your height. It’s about finding the perfect balance between frame size, reach, and your riding style. Knowing how to measure yourself and understanding bike geometry will help you pick a bike that feels like it was made just for you.
Whether you’re a beginner or upgrading your ride, learning how to size a mountain bike correctly saves you time and money. It sets you up for better performance and more fun on every adventure.
Understanding Mountain Bike Sizing
Mountain bike sizing ensures your bike matches your body and riding style. Getting this right boosts control, comfort, and performance on trails.
Why Proper Sizing Matters
Proper sizing improves handling by aligning the bike’s geometry with your body dimensions. It reduces fatigue because a well-sized bike supports efficient posture and pedaling. It prevents injuries by avoiding strain from overstretched or cramped positions. It enhances control, especially on technical terrain, by ensuring your weight distribution fits the bike’s design. Proper sizing also preserves bike longevity by minimizing undue stress on components and frame.
Key Components That Affect Size
- Frame Size: The primary measurement often based on seat tube length or a standardized size number. It aligns with your height and inseam but varies by brand and frame design.
- Reach: The horizontal distance from the bottom bracket to the top center of the head tube controls how stretched out you feel. It influences comfort and steering precision.
- Stack: The vertical height from the bottom bracket to the top of the head tube affects your upper body position and comfort.
- Top Tube Length: Determines cockpit size and affects how far you lean forward. It reacts to your arm length and torso size.
- Standover Height: The distance from the ground to the top tube ensures safe, comfortable mounting and dismounting.
- Handlebar Width and Stem Length: Adjust your bike’s fit laterally and fore-aft, impacting control and reach.
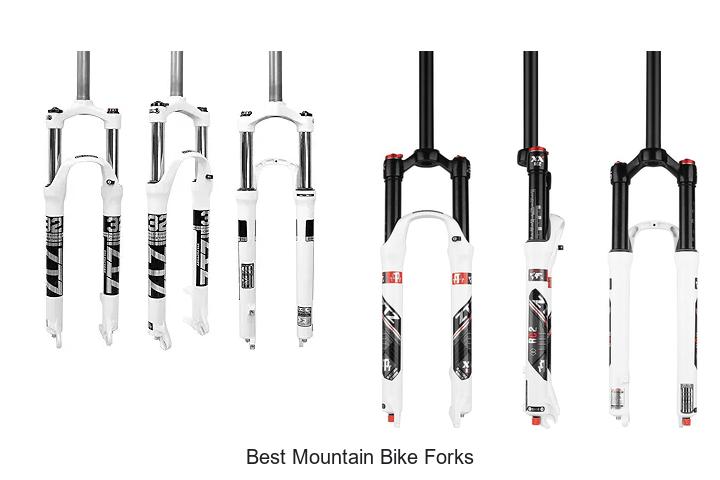
- Suspension Setup: Changes effective frame geometry, influencing fit when compressed on trails.
Knowing these components helps you evaluate mountain bike size beyond just frame numbers and height charts. Consider each factor to find a model that fits your unique body and riding needs.
Measuring Your Body for the Right Fit
Accurate body measurements lay the foundation for choosing a mountain bike with the right fit. Focus on inseam length, height, and reach to match your body geometry with the bike’s dimensions.
How to Measure Inseam Length
Stand barefoot with your feet shoulder-width apart against a wall. Place a book or flat object firmly between your legs, pressing it upward to mimic a bike saddle position. Measure the distance from the floor to the top edge of the book. Record this inseam length in inches or centimeters. Your inseam guides frame size selection, standover height, and seat post adjustments to ensure comfortable leg extension and pedaling efficiency.
Determining Your Height and Reach
Measure your standing height without shoes from the floor to the top of your head using a wall-mounted measuring tape or level surface. Next, measure your reach by extending your dominant arm forward parallel to the ground and measuring from the tip of your middle finger to the center of your chest. Match your height and reach with bike geometry specifications such as top tube length and stack height. This process improves bike control and prevents overstretching or cramped riding positions.
Decoding Mountain Bike Size Charts
Mountain bike size charts provide essential guidelines for matching your body measurements to the right frame. Knowing how to interpret these charts helps you select a bike that delivers control, comfort, and performance.
Frame Size vs. Rider Height
Frame size, typically measured in inches or centimeters, corresponds mainly to the seat tube length. Height charts link frame sizes to rider height ranges, but they serve only as starting points. For example, a rider between 5’6″ and 5’9″ often fits a 17″ to 18″ frame, yet personal preferences and body proportions alter this. Always compare your inseam and reach measurements with the suggested frame size. A taller rider with a short inseam might choose a smaller frame with adjustments in top tube length or stem length to maintain proper reach.
Differences Between Brands
Mountain bike sizing varies across brands due to distinct design philosophies and geometry standards. One manufacturer’s 18″ frame might feel different from another’s 18″ because of variations in top tube length, stack height, and reach. Some brands use numeric sizing (15″, 17″, 19″), while others use small, medium, large labels. Check each brand’s size chart carefully, noting specific geometry metrics that affect fit. Comparing reach and stack numbers helps you find consistent sizing across brands rather than relying solely on nominal frame size labels.
Testing and Adjusting Your Mountain Bike Fit
Testing and adjusting your mountain bike fit ensures comfort, control, and efficiency on varied terrain. Pay close attention to how the bike feels and performs during rides to fine-tune its setup to your body and riding style.
Importance of Test Rides
Test rides reveal how the bike responds to your body dimensions and riding dynamics. Evaluate balance, reach, and maneuverability on diverse terrain, including climbs, descents, and technical sections. Note if you feel stretched, cramped, or unstable during accelerations and turns. Riding with your usual gear and shoes provides an accurate sense of fit. Multiple short rides outperform a single long ride for assessing comfort and control. Testing several sizes or models helps identify the ideal frame geometry that matches your inseam, reach, and torso length. Adjustments can start only after you confirm a baseline fit that feels natural and confident.
Adjusting Saddle Height and Handlebar Position
Set your saddle height to optimize leg extension and pedaling efficiency. Your knee should remain slightly bent at the bottom of each pedal stroke—around 25 to 35 degrees of knee flex. If your hips rock while pedaling, lower the saddle. Raise it only if your knees bend too much or your pedal stroke feels cramped. Adjust saddle fore-aft to align your knee over the pedal spindle.
Position your handlebars to balance comfort and control. Raise the bars if you feel excessive pressure on your hands or lower back. Lower them for a more aggressive stance that improves handling on descents. Adjust stem length and handlebar width to suit your shoulder width and preferred reach. Proper handlebar positioning reduces upper body fatigue and enhances steering precision.
Record each adjustment’s effect during subsequent test rides to reach a fit tailored for your riding demands.
Common Mistakes to Avoid When Sizing
Sizing a mountain bike requires precision to ensure optimal performance and comfort. Avoid these common errors that compromise your ride quality.
Choosing a Frame Too Large or Small
Selecting a frame that is too large reduces control and increases fatigue by forcing you to overreach the handlebars or stretch your legs unnaturally. Choosing a frame too small compromises stability and can strain your knees and back due to cramped body positioning. Always prioritize matching frame size to your inseam, height, and reach measurements instead of relying solely on generic size charts. Test rides help confirm if the frame allows a slight bend in your knees at the bottom of pedal strokes and maintains comfortable handlebar reach.
Ignoring Riding Style and Terrain
Overlooking your preferred riding style and terrain leads to poor bike sizing decisions. Cross-country riders often prefer a lighter bike with a longer frame for efficiency, while downhill riders benefit from a sturdier bike with a shorter frame for enhanced maneuverability. Trail riders require a balance of these features. Match your bike’s geometry, including reach, stack, and suspension setup, to your typical terrain and riding intensity to maintain control and reduce fatigue on technical trails.
Conclusion
Choosing the right mountain bike size is key to unlocking your best ride. When your bike fits well, you’ll feel more confident, comfortable, and in control on every trail. Remember that sizing goes beyond numbers—it’s about how the bike aligns with your body and riding style.
Take the time to measure yourself accurately, compare geometry specs, and test ride different options. Small adjustments can make a big difference in performance and enjoyment. By investing effort into proper sizing, you’re setting yourself up for safer rides and longer-lasting gear.
Your perfect mountain bike is out there. With the right fit, every ride becomes more fun, efficient, and rewarding.
